1. Preliminaries
AltaRica 3.0 is the new version of the modeling language AltaRica dedicated to risk analysis (safety, reliability, performance) of complex systems.
The OpenAltaRica platform provides several tools to perform such analyses. This platform is protected by French laws and provided under a specific license. For any information or problem, see the OpenAltaRica forum or contact us. Finally if ever, report a bug.
This page summarizes process to install and configure the OpenAltaRica platform. According to the evolution of the platform, it will change (a lot). You can find the overall process in the Getting Started Document into the Docs & Downloads page.
2. Installation
The OpenAltaRica platform is (will be) available for Windows, Linux and macOS operating systems. The following describes the entirely process to install the OpenAltaRica Platform on your operating system. For any information or problem, see the OpenAltaRica forum or contact us.
To download and install the OpenAltaRica platform, go to the OpenAltaRica downloads page and download the suited package according to your operating system
1. Windows operating system
Extract the downloaded compressed file into the folder of your choice: e.g. ‘C:\OpenAltaRica’. You can rename this extracted folder, e.g. ‘OpenAltaRica-v1.0.0’;
WARNING: ensure you have full “Read” and “Execute” permissions on this directory and the absolute file system path to this directory (also including this directory) does not include spaces and parenthesis;
Go to the directory ‘AltaRicaWizard’. The binary file ‘AltaRicaWizard.exe’ (or ‘AltaRicaWizard’ if files’ extension are not shown) is the dedicated editor to design AltaRica 3.0 models.
2. Linux operating system
Coming soon!
3. macOS operating system
Coming soon!
3. Uses
Go to the directory ‘AltaRicaWizard’ and start the binary ‘AltaRicaWizard’. A new window opens, it is the dedicated editor to design AltaRica 3.0 models.
The first and important thing to remember is the help: Click on ‘Help’ and select ‘Help’.
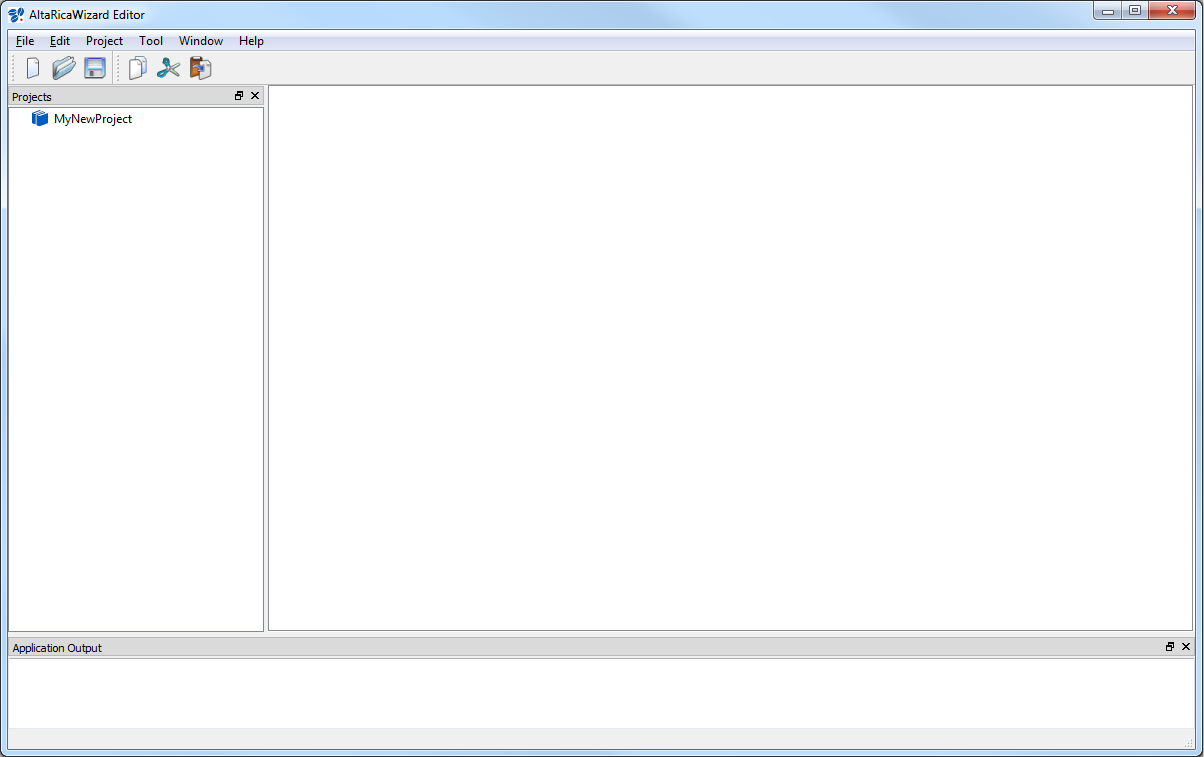
1. Create a new project
- Click on ‘File’, select ‘New File or Project’ and ‘New Project’;
- A new window opens. Enter the name of your new project (e.g. ‘MyNewProject’), click on ‘Browse…’ to define its location. The button ‘Create new directory’ must be clicked if you want to create the folder according to the name of your project. Finally click on ‘OK’;
- The ‘Projects’ explorer part of the AltaRicaWizard contains the new project (e.g. ‘MyNewProject’). By default, it contains nothing
2. Create a new AltaRica 3.0 model
- Into the ‘Projects’ explorer part of the AltaRicaWizard, right-click on your project (e.g. ‘MyNewProject’) and select ‘Add new file to’;
- A new window opens. Edit the name of your model (e.g. ‘MyNewModel.alt’); you can create it into a sub-directory (e.g. ‘ARModels’) and click on ‘Save’ (or ‘Enregistrer’);
- Your new AltaRica 3.0 model is now created into your project and you can now edit it.

3. Compile an AltaRica 3.0 model
In order to be assessed, an AltaRica 3.0 model must be compiled (more precisely flattened). Click on ‘Tool’ and select ‘Flattening’. A first static analysis is realized on your model and if no error, a new window opens. You can choose where the flattened model is created (e.g. ‘GTSModels/MyNewModel.gts’). Then click on ‘Next’.
The AltaRica 3.0 compiler is launched and if no error occurs, you can see ‘Compile AltaRica model: OK.’ into the Console part of the AltaRicaWizard. The flattened model is created and inserted within your project (e.g. ‘GTSModels/MyNewModel.gts’); it is a XML file.
4. Use assessment tools
Different assessment tools are available in order to study AltaRica 3.0 models. You can launch them by clicking on ‘Tool’ and selecting the tool (stepwise simulation or fault tree analysis for example).